Capacity vs stiffness based redistribution
Capacity vs stiffness based redistribution
This example applies the redistribution logic to compare a capacity-based and a stiffness-based redistribution on the same model.
For the logic behind this example, including what PREFAB optimizes for, see how the plastic redistribution works.
The model
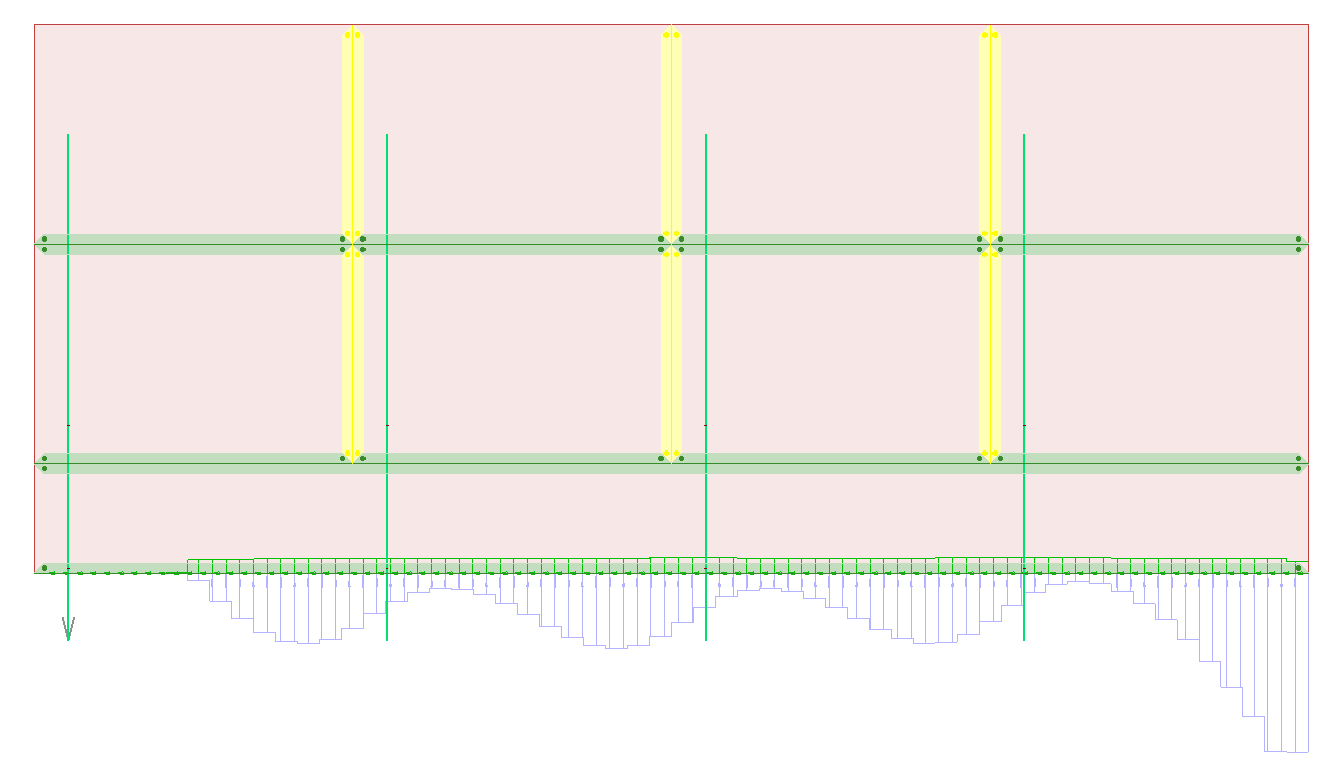
The model is a two and a half storey structure. With 4 walls on the two top storeys, all set to only compression and friction shear at the bottom, and only compression and shear at vertical connections. The reactions from the test load combination is shown below. The loading is a mix of simple horizontal loads at the top of each wall, and vertcial load.
Stiffness based
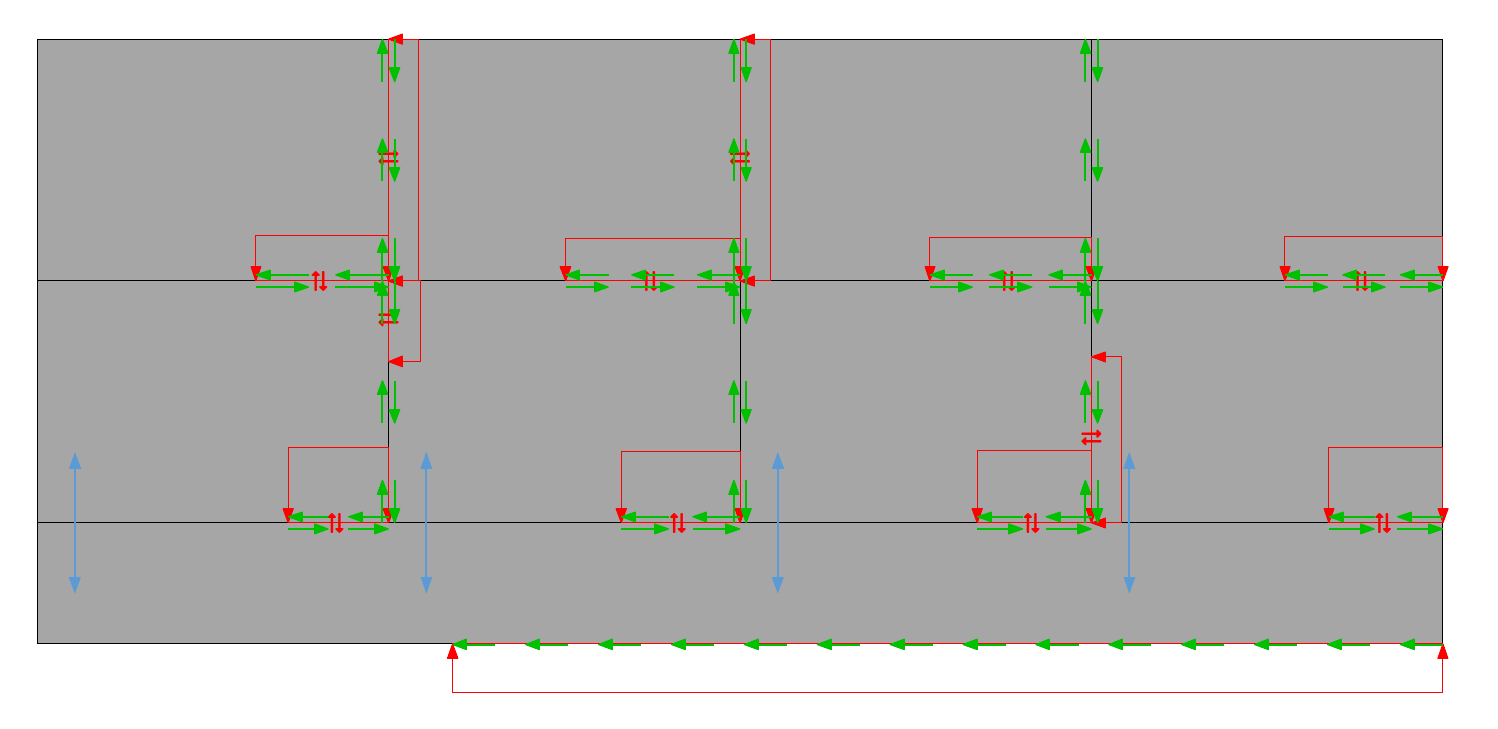
In Data handling, choose Based on FEM-Design and the Elastic variant. This stiffness-based result keeps the resultants from the FEM-Design analysis, simplified to a linearly varying compression zone that follows the relative stiffness of each connection rather than its capacity.
For details on this setting, see Data handling.
Here it's seen that the anchors are activated for all four wall.
Capacity based
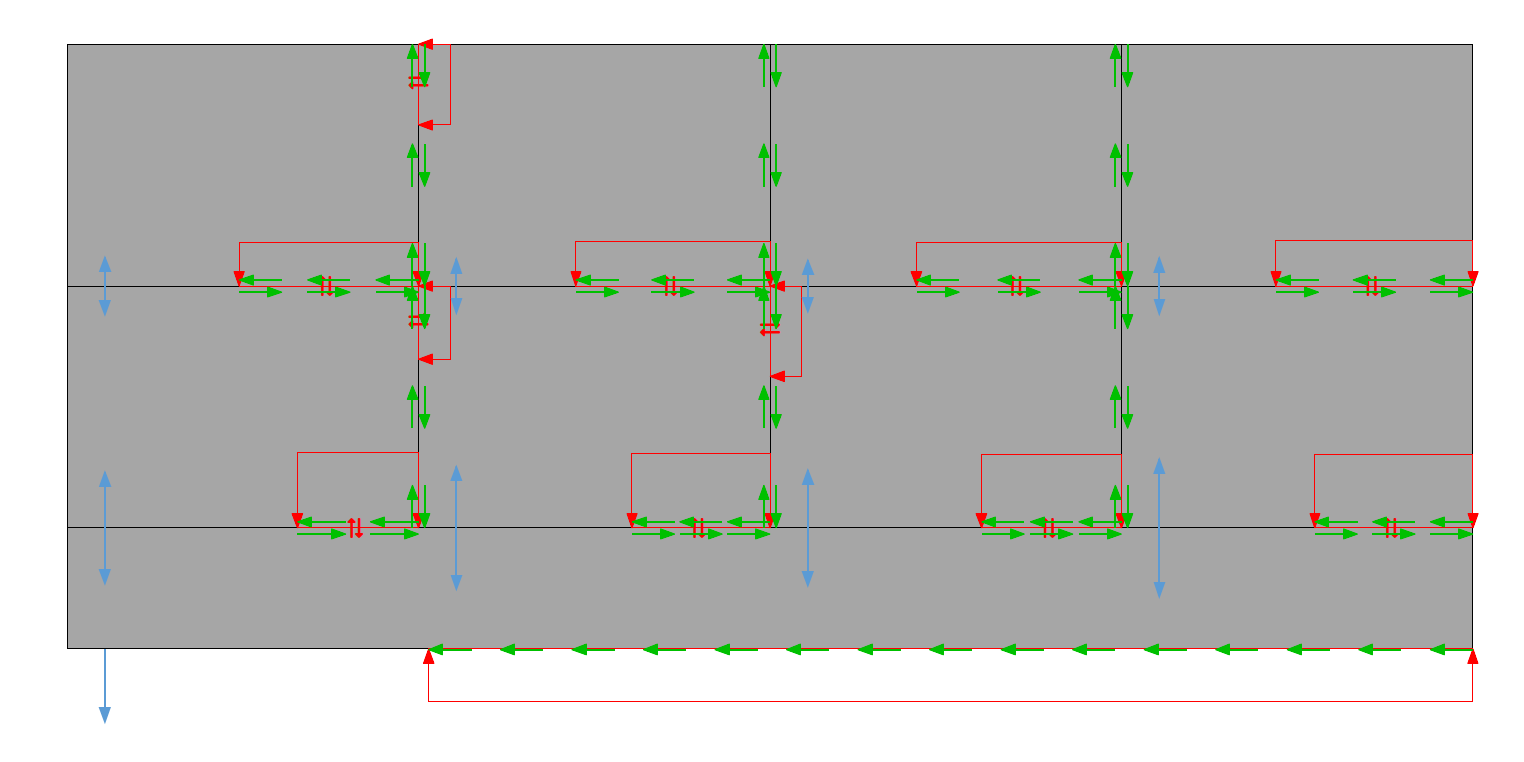
In Data handling, choose New plastic distribution and Full. This capacity-based result is the load path that minimizes the highest utilization anywhere in the model, based on the design capacity of each edge connection and anchor.
Comparing the two
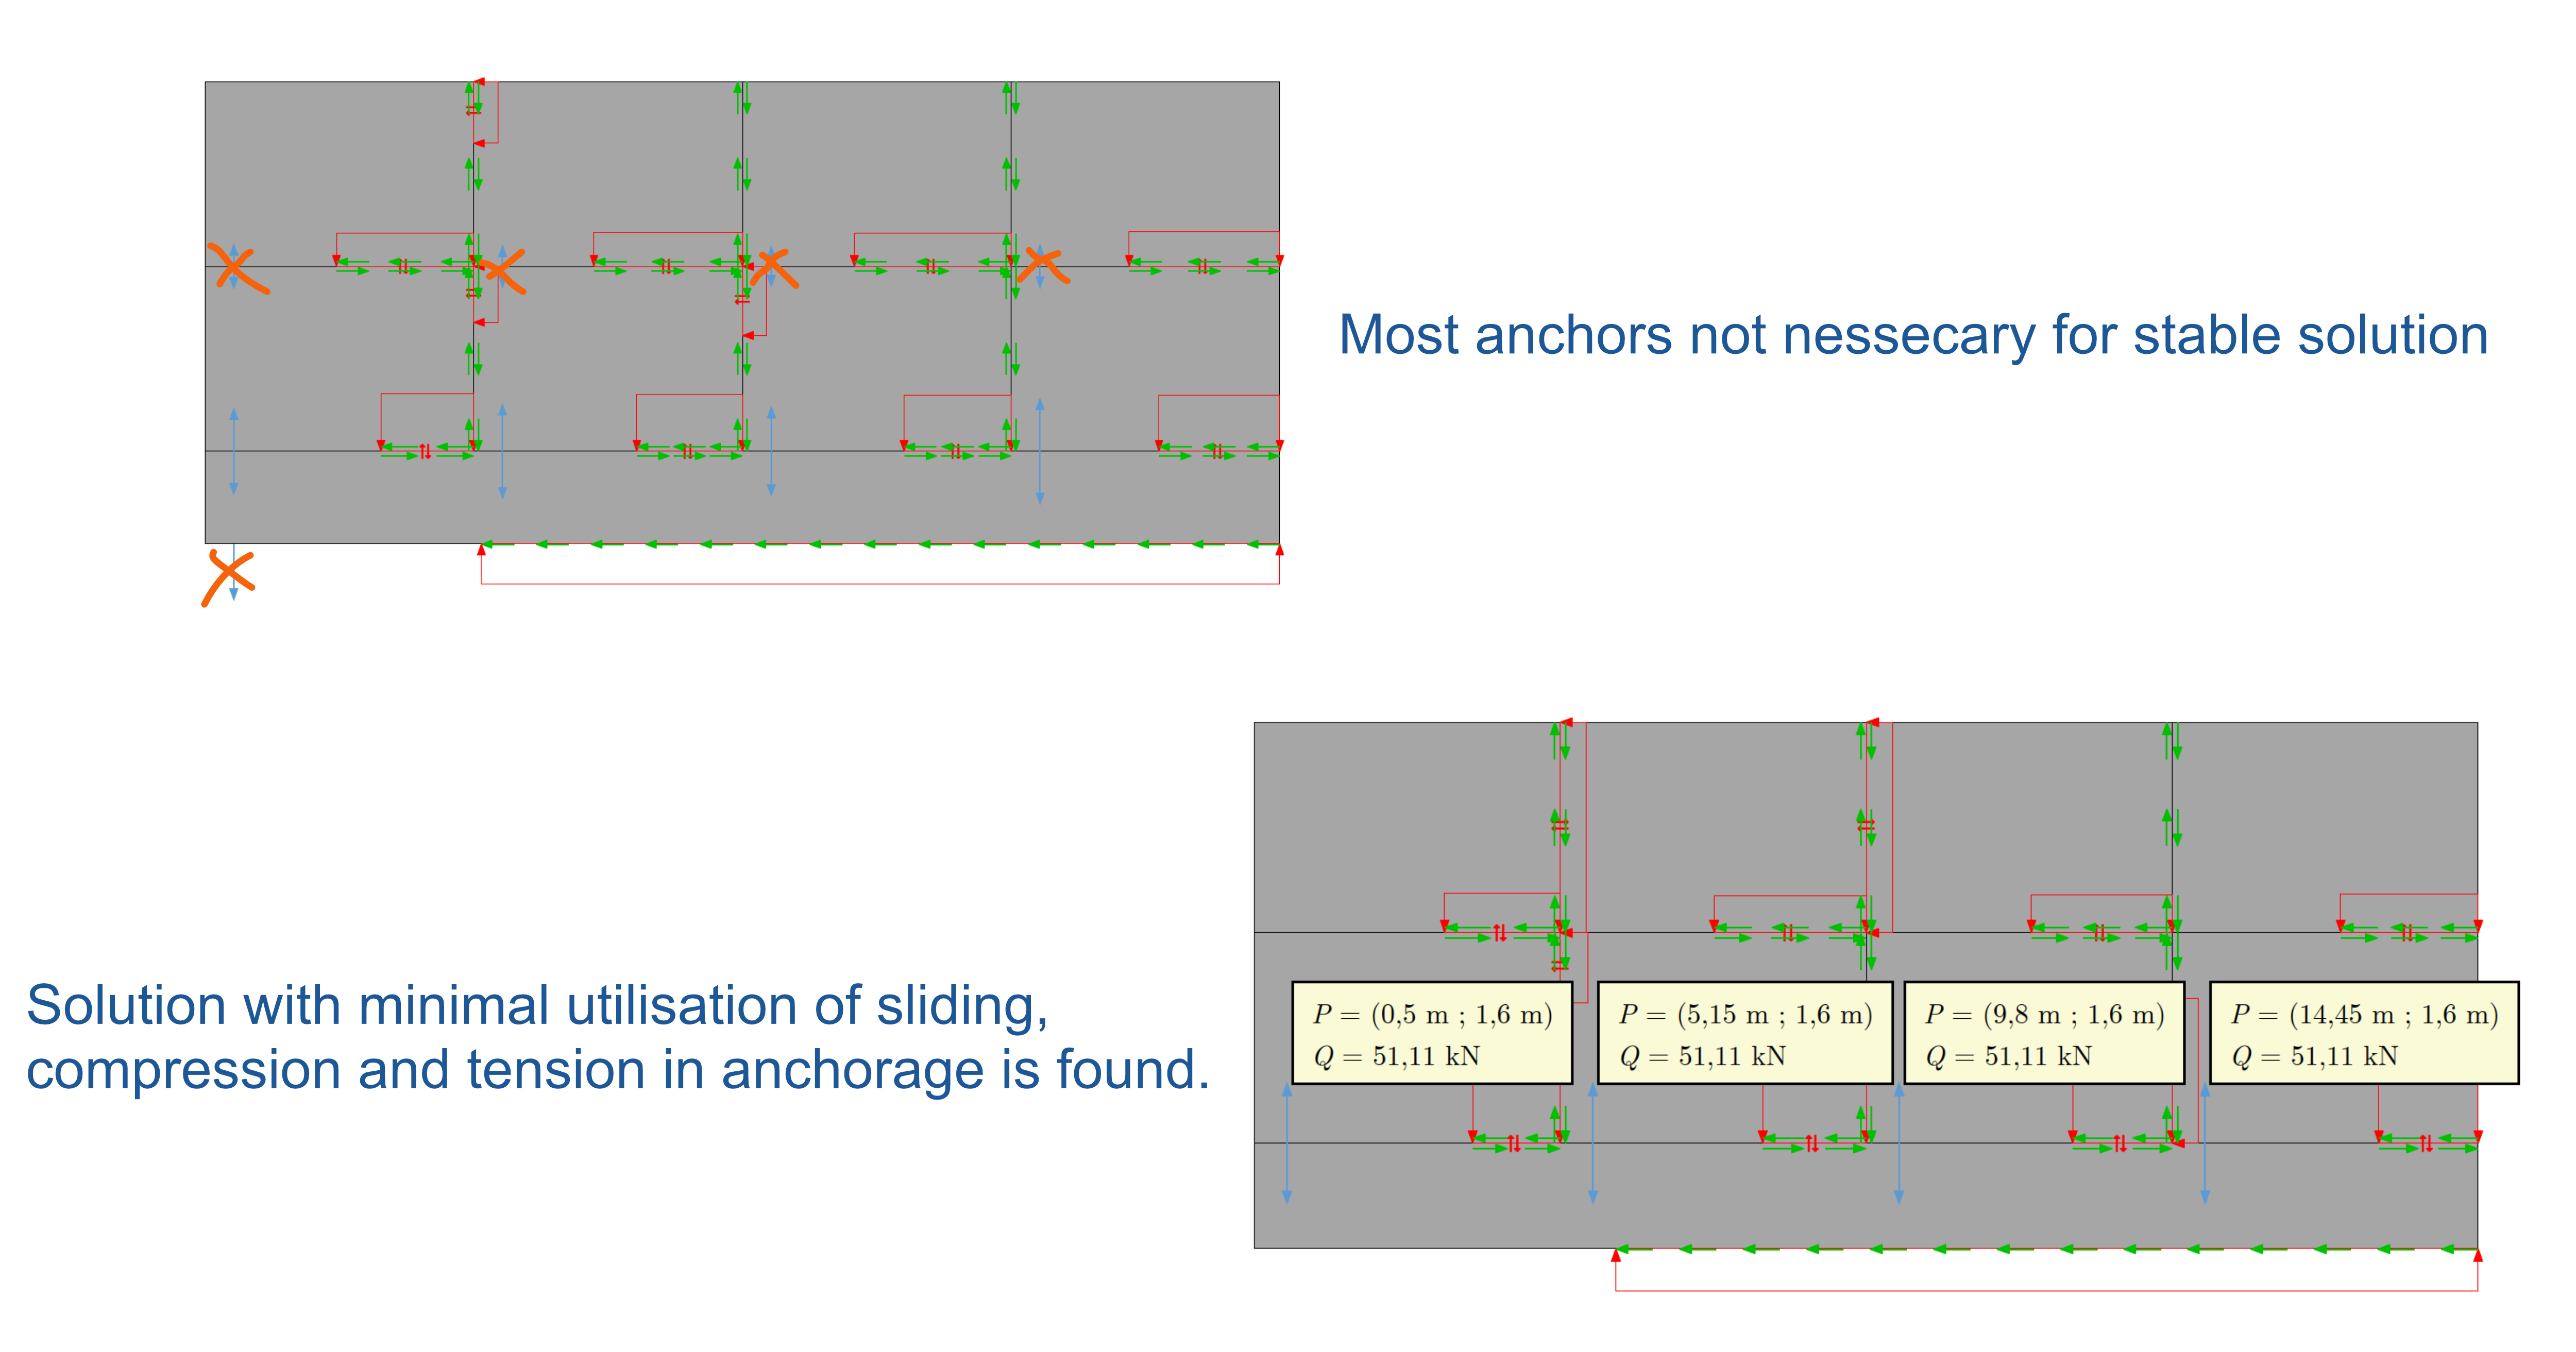
The two results follow a similar overall load path, but with one key difference: in the capacity-based result, most of the anchors (marked with an X) turn out not to be needed for a stable solution at all. That's the lower-bound theorem in practice: equilibrium can be satisfied without loading every anchor, so a statically admissible solution can lean on far fewer anchors than the stiffness-based one does. Among the equally valid capacity-based solutions, PREFAB still favors the one that best matches its optimization criteria rather than an arbitrary one.